Table Of Contents
This post assumes that you already have generated your Bot and you have ARM Templates available to deploy with. Follow the steps in I broke this out to another post here:
This post.Prerequisites
Login Azure CLI and Create Azure AD App
- First, log in to Azure
az login
- Set a default location so you don’t have to enter it all the time
az configure --default location=northeurope
- Create an Azure AD registration that will be used for the different channel authentication. Make sure to save these values, because we will need to use them later. This application is a multi-tenant app, to make sure it works with all the channel registrations. In upcoming posts where we will use Microsoft Graph, we will create another app registration.
az ad app create --display-name "AADSimonBot" --password "SimonBlogBotDemoStuff1!" --available-to-other-tenants
Create Resource Group and Key Vault to be used in ARM deployment
- Create a resource group
az group create --name RGSimonBot
- In this example, we will create Key Vault and give us the possibility to use it in ARM deployment.
az keyvault create --enabled-for-template-deployment true --name "VaultSimonBot" --resource-group "RGSimonBot"
- Add the AAD App secret to the key vault
az keyvault secret set --vault-name "VaultSimonBot" --name "SecretSimonBot" --value "SimonBlogBotDemoStuff1!"
Slightly modify ARM parameters file and then use it for deployment
We will use the parameters file in this case to input the values, and then use it in the template deployment. We could also pass in the parameters in the Azure CLI command if we wanted to (as they do in the Microsoft article I linked to).
appId- here we use the appId value of the Azure AD app registration we didappSecret- here we use a reference to the Key Vault we created and the specific secret we created. For thesecretName, we will use the name of the secret we added to the Key Vault. As the id for the Key Vault we use this syntax:
/subscriptions/<SubscriptionId>/resourceGroups/<ResourceGroup>/providers/Microsoft.KeyVault/vaults/<KeyVaultName>
The rest is quite self explanatory. We have also added values for botId, botSku, newAppServicePlanName, appServicePlanLocation and newWebAppName in the parameter file and now it looks like this:
{"$schema": "https://schema.management.azure.com/schemas/2015-01-01/deploymentParameters.json#","contentVersion": "1.0.0.0","parameters": {"appId": {"value": "198eb0c2-33e1-4808-a7b4-d326043e839b"},"appSecret": {"reference": {"keyVault": {"id": "/subscriptions/4866dad4-d39c-4a12-9466-de00b6a66718/resourceGroups/RGSimonBot/providers/Microsoft.KeyVault/vaults/VaultSimonBot"},"secretName": "SecretSimonBot"}},"botId": {"value": "BotSimonBot"},"botSku": {"value": "F0"},"newAppServicePlanName": {"value": "SPSimonBot"},"newAppServicePlanSku": {"value": {"name": "S1","tier": "Standard","size": "S1","family": "S","capacity": 1}},"appServicePlanLocation": {"value": "northeurope"},"existingAppServicePlan": {"value": ""},"newWebAppName": {"value": "WASimonBot"}}}
Deploy using ARM template and parameter file
- Make sure you cd into the folder where the
DeploymentTemplatesreside. Usingtemplate-with-preexisting-rg.jsonandpreexisting-rg-parameters.jsonwill create a new App Service plan, App Service (Web application), and a Bot Channel registration into our already created resource group.
az group deployment create --name "DeploySimonBot" --resource-group "RGSimonBot" --template-file template-with-preexisting-rg.json --parameters @preexisting-rg-parameters.json
- Cd back into the main bot folder. The infrastructure has been deployed and we will now prepare the Bot for deployment, creating two web.config files. These are needed as we run the application on NodeIIS in Azure
az bot prepare-deploy --code-dir "." --lang Typescript
We need to compress the content to a .zip file. I usually just write “start .” in
cmdto open file explorer and then mark everything and “send to .zip”
zip Then we zip deploy the bot to the Web Service
az webapp deployment source config-zip --resource-group "RGSimonBot" --name "WASimonBot" --src "nameOfZip.zip"
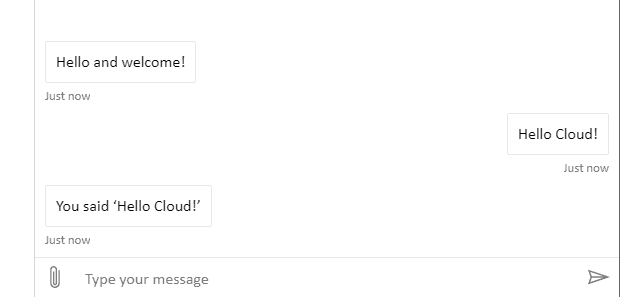
- And now we can test the webchat. We have our Bot running and working in Azure - nothing runs locally anymore!
